

Every successful deer season starts long before the first arrow is released or the first rifle is fired. For serious hunters, pre-season trail camera setup is a crucial part of the game plan—giving you the ability to scout movement, evaluate buck potential, and make data-driven decisions on stand locations.
But not all setups are created equal. From camera positioning to battery prep, overlooking even one detail can lead to missed opportunities when it matters most. Whether you’re setting up one cam or a whole fleet, this pre-season trail camera checklist will ensure you're dialed in before the deer start moving.
✅ 1. Test and Update Your Trail Cameras
Before heading into the field, make sure every camera is in top working condition.
Checklist:
- Power on and check basic functionality
- Update firmware if applicable
- Test detection zone, trigger speed, and image quality
- Clean lenses and infrared sensors
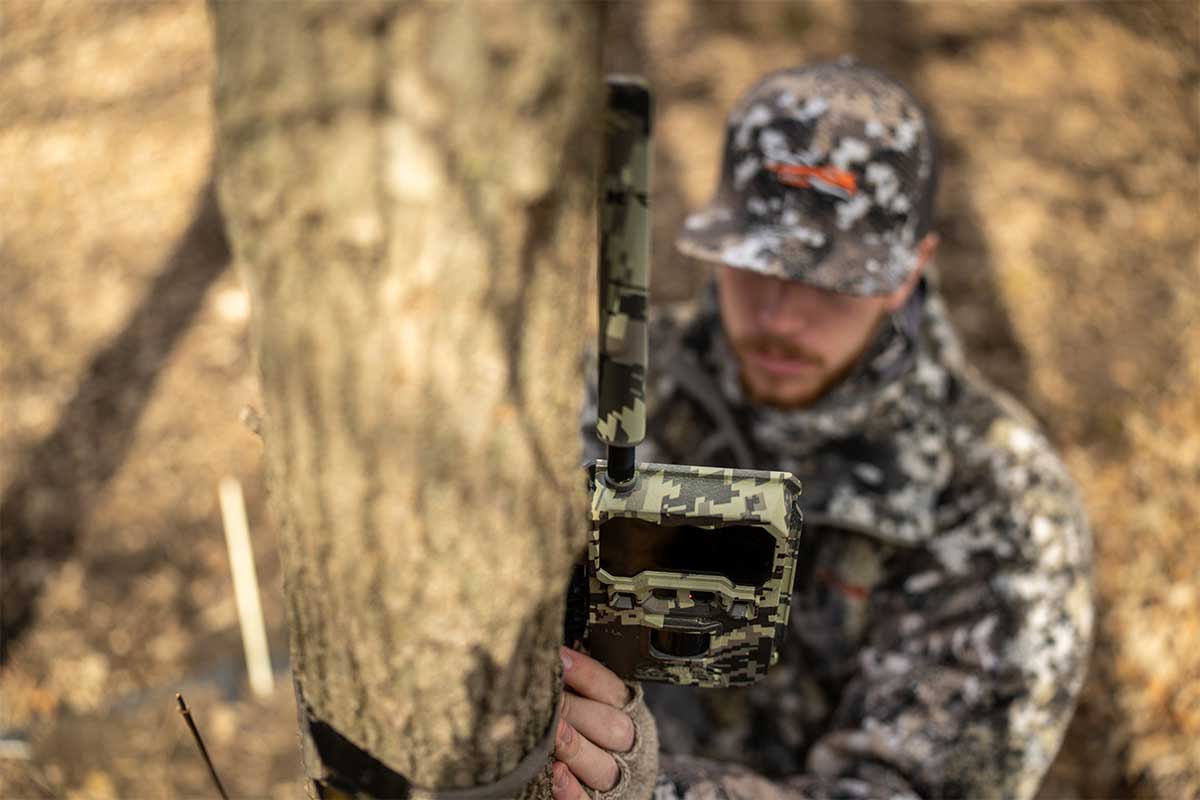
If you're using Black Gate Trail Cameras like the R4G LITE or R4G PLUS, take advantage of their simple test modes and intuitive setup to ensure everything’s firing on all cylinders before deployment.
✅ 2. Use Fresh Batteries or External Power
The last thing you want is for your camera to die just as the deer activity picks up.
Checklist:
- Use fresh lithium batteries (best for cold weather and longevity)
- Avoid alkaline batteries—they drain quickly and perform poorly in cold
- For long-term setups, use a 12V external battery pack or a solar panel
Black Gate models are built with efficient battery consumption in mind, and they feature external power ports for hunters running cameras in remote areas all season long.
✅ 3. Format and Label Your SD Cards
Don’t risk corrupted data or missed captures due to an overlooked SD card issue.
Checklist:
- Use 32GB–128GB Class 10 or UHS-I SD cards
- Format cards in-camera before each deployment
- Label cards with location or camera ID for easy sorting later
Black Gate cameras are compatible with high-capacity SD cards and include simple in-menu formatting options for field convenience.
✅ 4. Pick Strategic Pre-Season Locations
Placing your cameras in the right spots before the season begins is key to gathering useful intel.
Top Early-Season Locations:
- Transition zones between bedding and feeding
- Water sources (especially in dry months)
- Trails leading to agricultural fields or mast-producing trees
- Known scrape lines and travel corridors
Focus on low-pressure areas where deer feel safe during summer patterns. Early intel helps you pattern bucks before they shift into fall movement habits.
✅ 5. Mount Cameras Correctly
Camera height, angle, and orientation affect the quality and usefulness of your photos.
Checklist:
- Mount cameras 3 to 4 feet off the ground for side-profile shots
- Angle slightly downward if mounted higher
- Point cameras north or northeast to avoid false triggers and blown-out images from direct sunlight
- Clear brush or branches from the detection zone
Black Gate cameras offer wide-angle motion detection and fast trigger speeds, which means even angled or off-center movement gets captured clearly.
✅ 6. Customize Camera Settings
The pre-season is a great time to dial in camera settings that balance data collection with battery life and storage.
Recommended Settings:
- Photo mode: Use for high-traffic spots and easy sorting
- Video mode: Use in scrapes or behavior zones to study interactions
- Delay time: 15–30 seconds to avoid redundant shots
- Burst mode: 2–3 photo bursts help capture full motion
With Black Gate’s user-friendly interface, adjusting these settings takes just seconds—so you can adapt quickly based on location and conditions.
✅ 7. Label and Log Each Camera Location
Keeping track of where each camera is placed and how it’s performing is crucial for pre-season analysis.
Checklist:
- Use GPS pins or hunting apps to mark camera locations
- Log the placement date, habitat type, and settings used
- Note any sign of deer activity in the area
This data helps you understand what’s working and where to relocate underperforming cams before the season begins.
✅ 8. Add Security and Camouflage
Pre-season is a busy time in the woods. Don’t let human or animal interference ruin your setup.
Checklist:
- Use lockable security boxes and Python cable locks
- Mount cameras slightly above eye level to avoid detection
- Use camouflage wraps or foliage to blend in
Black Gate offers custom-fit security boxes for their R4G series, designed to deter both theft and tampering while maintaining full camera functionality.
✅ 9. Limit Intrusion After Setup
Once your cameras are up, resist the urge to check them too often. Excessive human presence can disrupt patterns and push deer into nocturnal habits.
Best Practices:
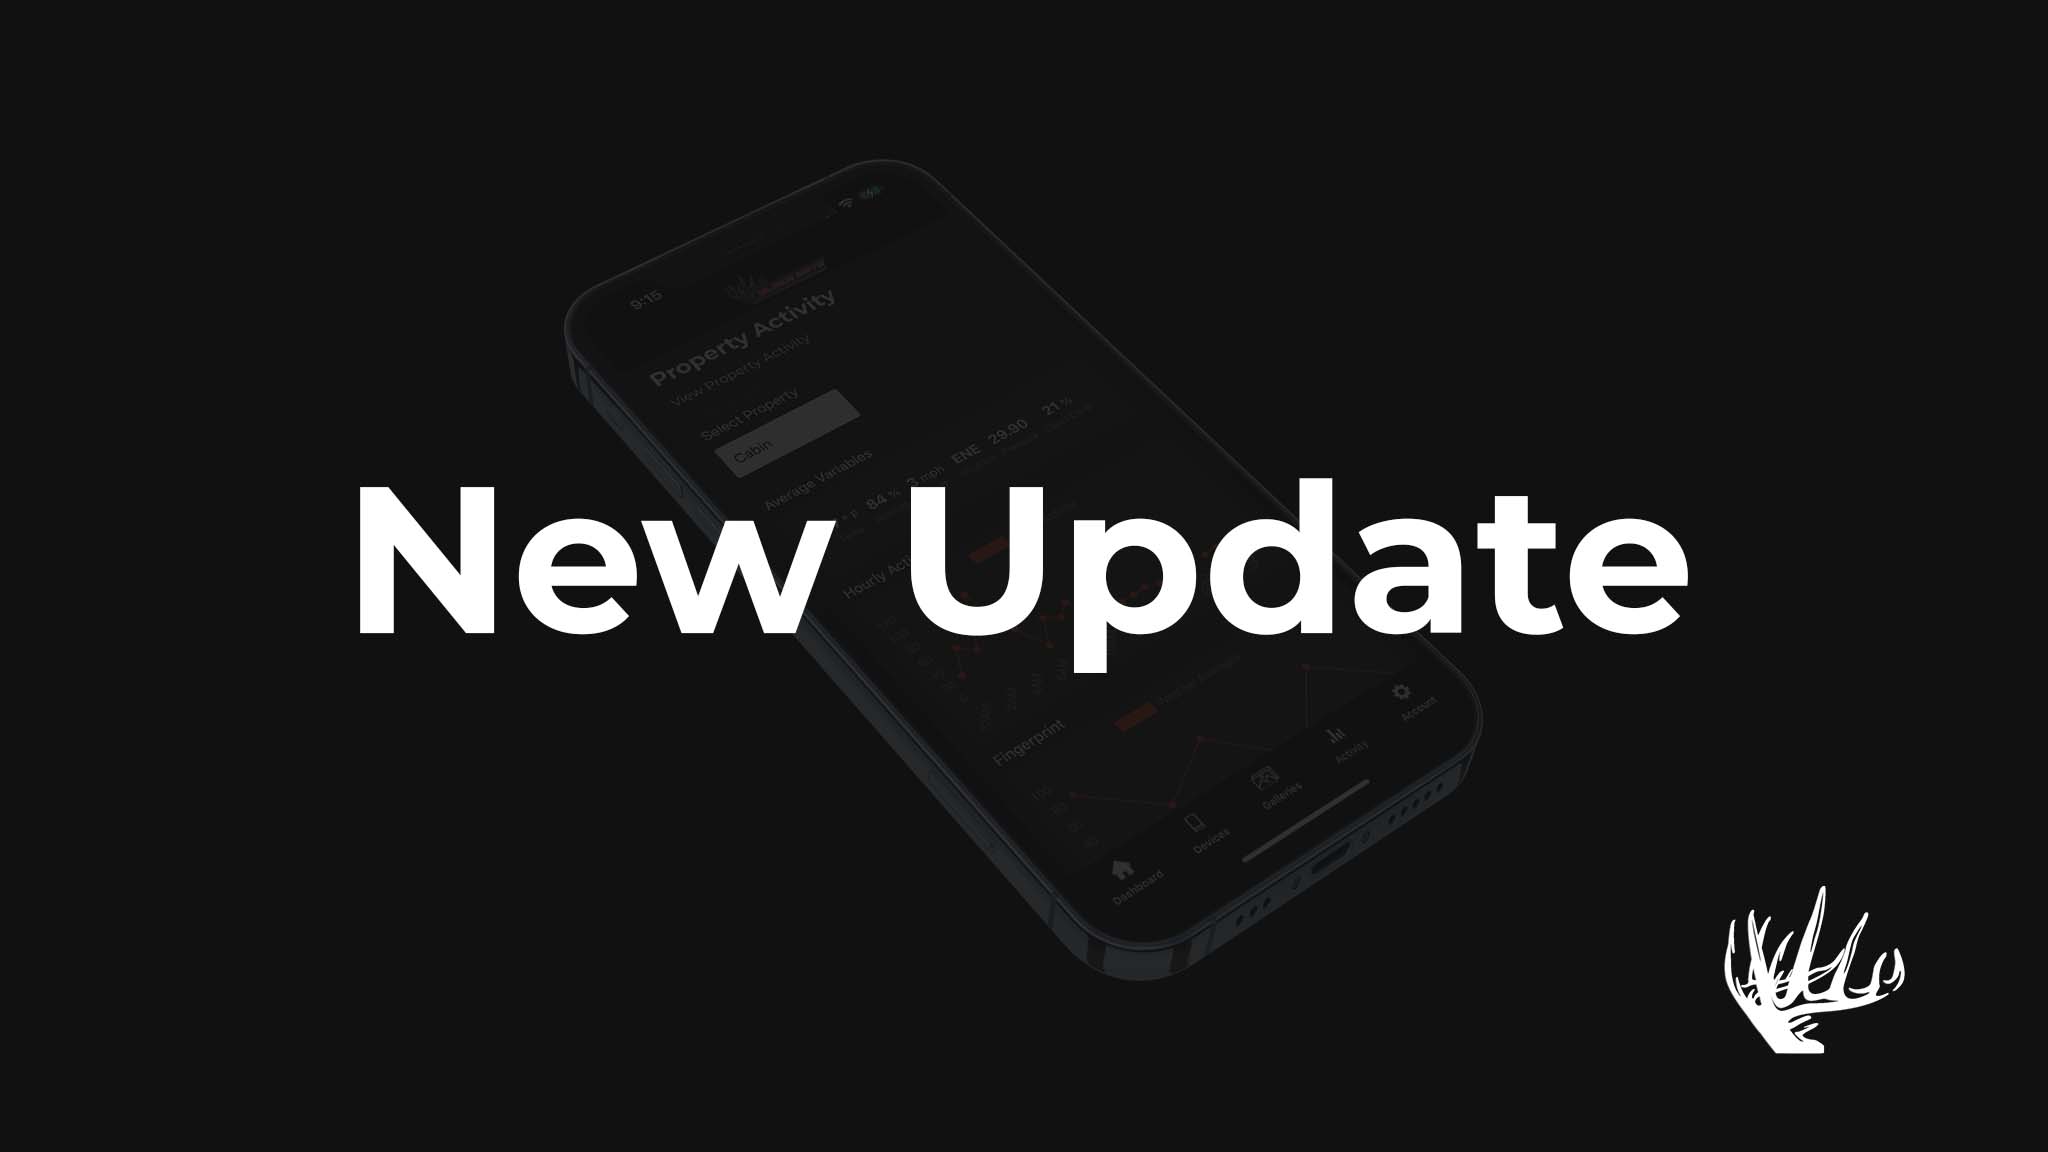
- Use cellular trail cameras to get images remotely
- Plan checks around weather events or midday when deer are less active
- Use rubber gloves and scent control spray during visits
Black Gate’s R4G PLUS provides real-time photo transmission, so you can scout from home without disturbing the area.
✅ 10. Review and Adjust Based on Early Intel
As the season nears and deer activity shifts, your cameras should shift too. Be ready to adapt based on what you’re seeing.
Adjust as needed:
- Move cameras closer to active scrapes or rubs
- Shift from food sources to bedding transitions as acorns drop
- Change delay times or switch from photo to video mode to capture new behavior
Trail cameras are meant to work with your evolving strategy—not just sit in one spot all season. Flexibility is key to keeping up with deer movement.
Final Thoughts
Getting ahead of the season with a proper trail camera setup gives you a major edge. It’s not just about collecting pictures—it’s about gathering actionable intelligence that can shape your entire hunting strategy.
By following this checklist and using high-performance gear like the Black Gate R4G LITE and R4G PLUS, you’re setting yourself up for more effective scouting, fewer surprises, and better decisions when it counts.
Want to elevate your pre-season prep? Explore the full line of gear and accessories at BlackGateHunting.com and make every trail cam pull work harder for you.
Share:
The Best Time of Day to Capture Deer on Trail Cameras (And Why It Matters)
Cellular Trail Cameras 101: Everything You Need to Know Before Going Wireless