

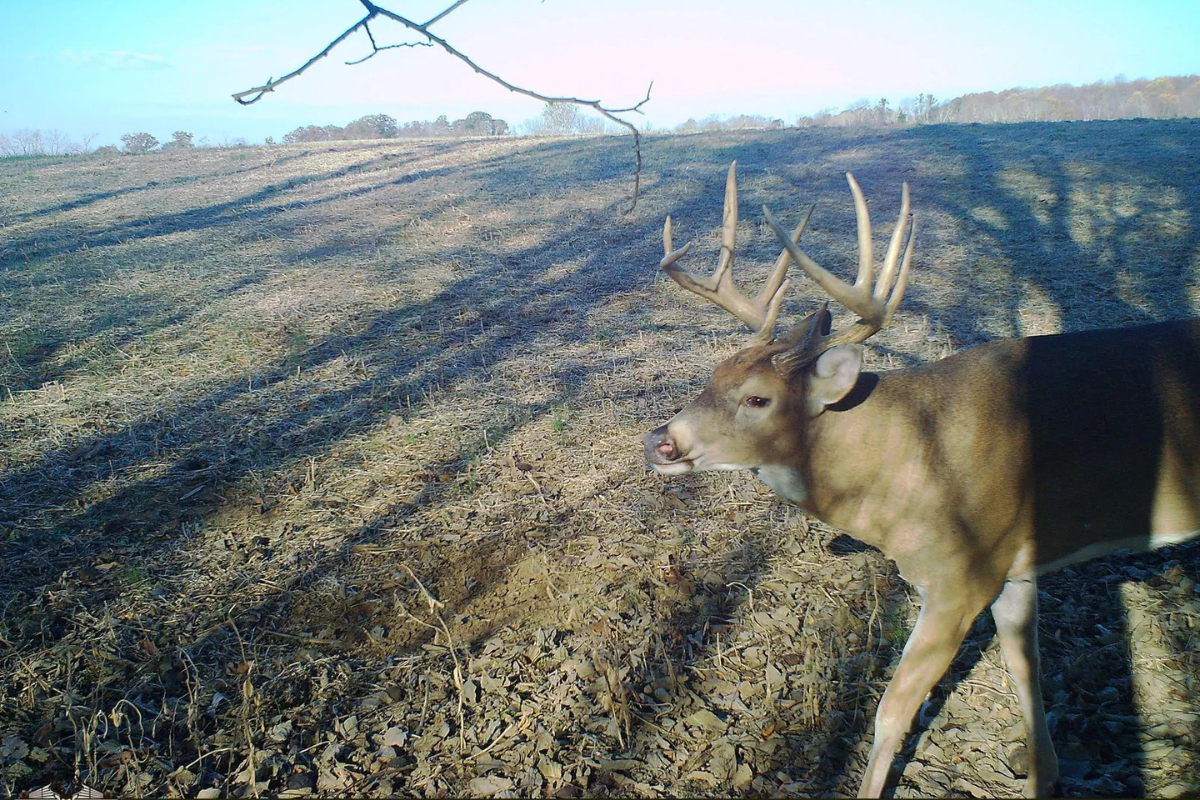
A well-placed trail camera can be the difference between capturing the moment that makes your season—or coming up empty. Whether you're chasing a mature buck or tracking deer movement through different phases of the season, placement is everything.
This guide will walk you through five actionable trail camera placement tips to maximize your scouting efforts, backed by real-world insights and supported by gear designed for the job—like the intuitive, high-performance lineup from Black Gate Cellular Trail Cameras.
1. Focus on Funnels, Trails, and Pinch Points
Deer are creatures of habit and efficiency. They often follow natural terrain features—think creek crossings, ridge lines, fence gaps, and narrow travel corridors between bedding and feeding areas. These “funnels” concentrate movement, making them ideal spots for capturing high volumes of activity.
How to do it right:
-
Position your camera 15–20 feet off the trail and angle it at a 45-degree angle to capture side profiles rather than direct front-facing shots.
-
Set the camera about waist height (roughly 3 feet off the ground) for the best full-body frame.
Why it works with Black Gate:
The R4G-Lite+ and R4G-GEN2 models are equipped with fast trigger speeds and wide-angle detection zones—perfect for these narrow corridors where every second counts.
2. Place Cameras Over Active Scrapes and Rub Lines
During the pre-rut and rut phases, scrapes and rub lines become some of the most visited hotspots in the woods. These are communication hubs for bucks, and monitoring them gives you real-time insights into what bucks are frequenting the area and when.
How to do it right:
-
Mount the camera 3-4 feet high and 20-25 feet away from the scrape.
-
Use photo or video mode to capture multiple angles or behaviors.
-
Set a short delay between triggers (5–10 seconds) to catch multiple interactions.
Why it works with Black Gate:
The Black Gate Mobile App makes it easy to review videos and images from these high-activity zones remotely—especially useful for minimizing scent intrusion during peak times. You can save photos, request HD full resolution, change settings, and manage/add galleries. Every tool you need is available on the Black Gate Mobile App.
3. Watch the Wind (and the Sun)
One overlooked feature is where to face your camera when going into the field or woods. You want to avoid the rising and setting sun, this can make your images wash our or become too dark to see the animals it is capturing due to direct sunlight or shadows. Follow the steps below to maximize your camera efficiency in the field.
How to do it right:
-
Face cameras north and south when possible to avoid direct sunlight.
-
Set up with the prevailing wind in mind—downwind of bedding areas and food plots is usually safest in case you need to check the camera or want to get Full HD photos off the SD card on your way to the stand.
-
Use scent-control tactics when setting or checking cameras, like gloves or scent-eliminating spray.
Why it works with Black Gate:
High-resolution image sensors and auto-exposure settings help Black Gate Cellular Trail Cameras handle changing light better—but good placement still makes all the difference.
4. Elevate to Avoid Detection and Expand View
Deer—and people—notice things that don’t belong. A trail camera strapped directly at eye level may spook mature bucks or be more visible to trespassers. Mounting the camera a little higher can help it blend in and capture a wider field of view. Keep in mind facing it downward may limit the sensor distance so make sure you camera is correctly aligned before walking away from it.
How to do it right:
-
Mount the camera 6–7 feet high and tilt it downward.
-
Use adjustable brackets or arms for precise aiming.
-
Clear the area of branches or brush that might trigger false alerts.
Why it works with Black Gate:
With excellent motion detection and image clarity from elevated angles, Black Gate models allow for flexible mounting without compromising performance. Add a Python lock and steel security box made specifically for Black Gate cameras for extra protection in public areas or near property lines.
5. Don’t Overlook Entry Routes and Water Sources
You may already be watching food plots and scrapes—but what about the routes deer take to get there? Monitoring entry and exit points near bedding areas, or water sources during warmer months, can reveal travel patterns and timing.
How to do it right:
-
Identify natural staging areas between bedding and feeding zones.
-
Place cameras where trails intersect, split, or meet water sources.
-
Avoid walking directly through bedding areas to check non cellular cameras—use a backdoor route if possible or make sure to use only cellular cameras where you can let them soak for months.
Why it works with Black Gate:
The R4G-Lite+ and R4G-GEN2 model’s cellular capabilities let you check deer movement without disturbing high-pressure zones. That means fewer scent trails, less spooked game, and better data.
Final Thoughts
Even the most expensive trail camera won’t help much if it’s not placed correctly. By focusing on natural deer movement, terrain features, and strategic concealment, you can turn your trail cameras into powerful data-gathering tools that help guide every hunt.
And when you combine smart placement with high-performance gear—like the fast trigger speeds, wide detection zones, long battery life, and cellular access of Black Gate Cellular Trail Cameras—you increase your chances of getting that perfect shot, both on the camera and in the stand.
For more expert tools and accessories designed to help hunters scout smarter, visit BlackGateHunting.com.

Share:
Using Trail Cameras for Property Surveillance: A Dual Purpose Tool
The Best Time of Day to Capture Deer on Trail Cameras (And Why It Matters)