

Early spring is one of the best times of year to run trail cameras. Deer are moving predictably, winter pressure is fading, and you can gather valuable scouting data that helps all the way into fall.
But early spring also creates one of the biggest trail camera problems hunters deal with: false triggers.
Wind, shifting sunlight, warming temperatures, and moving brush can fill your SD card with empty photos and drain your batteries fast. This becomes an even bigger issue with cellular trail cameras, where unnecessary triggers can also increase data usage.
The good news is that most false triggers can be fixed with a few simple setting adjustments and smarter camera placement.
This guide will walk you through the best trail camera settings for early spring, how to reduce empty photos, and how to extend battery life — without missing real deer movement.
Why Early Spring Causes So Many False Triggers
In March and early April, trail cameras often get hit with a perfect storm of conditions:
- Strong wind moving branches and tall grass
- Rapid temperature swings (cold mornings, warm afternoons)
- More direct sunlight hitting the PIR sensor
- Melting snow or reflective ground cover
- New growth starting to appear in front of the camera
Since most trail cameras use motion and heat detection (PIR sensors), these changes can trick the camera into thinking something is moving.
That leads to:
- Hundreds of blank photos
- Full SD cards
- Shortened battery life
- Missed real activity because the camera is “busy”
The Best Early Spring Trail Camera Settings (Simple and Effective)
1. Lower Your Motion Sensitivity (Most Important)
If your camera is firing nonstop, sensitivity is almost always the first setting to adjust.
In early spring, the best approach is usually:
- Medium sensitivity for most setups
- Low sensitivity for windy field edges or brushy areas
- High sensitivity only for narrow trails in calm cover
Lower sensitivity reduces false triggers dramatically, while still capturing deer movement if your camera is positioned correctly.
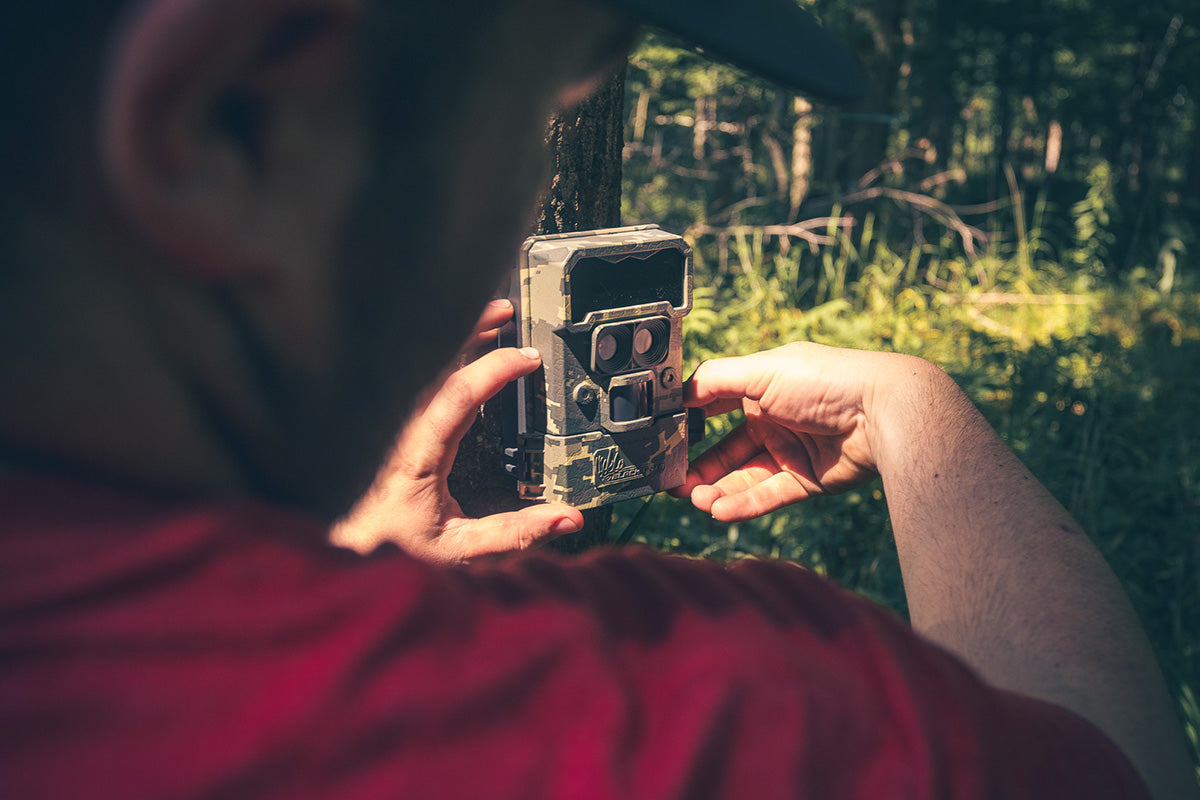
This is especially important for cellular trail cameras like the Black Gate R4G Gen2 4G LTE Cellular Trail Camera, since fewer triggers also means less battery drain and cleaner photo delivery.
2. Use a Trigger Delay (Photo Interval)
Many hunters overlook this setting, but it can be a game changer.
A trigger delay tells the camera how long to “wait” before it takes another photo after a detection.
Recommended early spring trigger delay:
- 10–30 seconds for food edges and open areas
- 5–10 seconds for trails and funnels
- 30–60 seconds for high-wind zones
This reduces the rapid-fire “machine gun” effect when brush is moving, while still capturing the animals that matter.
3. Choose Photo Mode Over Video (Most of the Time)
Video can be useful, but it drains batteries faster than photos — especially in cold mornings and high-activity zones.
For early spring scouting, photo mode is usually the better option because it:
- Saves battery life
- Reduces SD card usage
- Makes it easier to scan for antler status and movement timing
A good setting for early spring is:
- 2–3 photo burst per trigger
- Instead of video clips
This helps you confirm direction of travel and identify deer more clearly without wasting storage.
4. Reduce Nighttime Overkill
Nighttime photos are valuable, but too many night triggers can drain power quickly.
To keep nighttime scouting efficient:
- Keep flash on (no-glow is ideal)
- Avoid placing cameras too close to reflective surfaces
- Avoid pointing directly at open sky
No-glow night capture is especially useful in spring because deer are often bunched up and cautious in pressured areas. Black Gate cameras are designed with stealth in mind, which helps keep night photos useful without spooking game.
5. Use Time-Lapse (Field Scan) Only When It Makes Sense
Time-lapse is one of the most misunderstood trail camera features.
Time-lapse can be helpful for:
- Large food plots
- Open crop fields
- Long-range glassing areas
- Turkey scouting fields
But it can be terrible for:
- Tight trails
- Funnel setups
- Brushy terrain
If you use time-lapse, keep it limited:
- 1 photo every 5–10 minutes
- Only in wide open areas
Otherwise, you’ll burn battery and fill cards fast.
The Real Secret: Settings Help, but Placement Fixes Most Problems
Here’s the truth: even perfect settings won’t fix a poorly placed camera.
If you want fewer false triggers in early spring, focus on these placement rules.
Avoid Facing East or West
This is one of the biggest causes of false triggers and washed-out photos.
When the sun rises or sets directly into the lens, it can:
- Create glare
- Trigger the sensor
- Blow out image quality
Best practice: Aim cameras north or south whenever possible.
Clear the “Trigger Zone”
If tall grass, weeds, or branches are in front of the lens, wind will turn them into a false trigger machine.
Before you walk away:
- Clear the first 5–10 feet in front of the camera
- Remove small branches
- Trim grass if needed
This one step can reduce empty photos by 50% or more.
Don’t Mount Too Low
Low-mounted cameras pick up more grass movement and ground heat changes.
A better early spring height is usually:
- Waist/Chest height (about 3.5–4.5 feet) for most setups
- Higher (6–7 feet angled down) for security and wide coverage
How to Save Battery Life in Early Spring
Battery life depends on three main things:
- Trigger volume
- Flash usage
- Temperature swings
Here are the best ways to extend battery life:
- Reduce sensitivity in windy areas
- Use photo mode instead of video
- Use a trigger delay
- Avoid high-traffic spots unless necessary
- Consider external power for long deployments
For cellular setups, this is where a camera like the Black Gate R4G Gen2 shines, because the goal is consistent performance without constant battery swaps. The R4G-Lite Plus is also a great option with rechargeable lithium packs.
Early Spring Settings Checklist (Quick Version)
If you want a simple setup that works in most March conditions, start here:
- Sensitivity: Medium
- Trigger delay: 10–30 seconds
- Mode: Photo
- Burst: 2–3 photos
- Time-lapse: Off (unless open field scouting)
- Placement: Not facing sunrise/sunset, clear brush in front
Final Thoughts
Early spring trail camera scouting can deliver some of the best data you’ll get all year — but only if your cameras aren’t wasting battery and storage on empty photos.
By adjusting sensitivity, using a smart trigger delay, choosing photo bursts over video, and improving camera placement, you can reduce false triggers and keep your cameras running longer.
That means cleaner scouting data, fewer trips into the woods, and better intel that carries into fall.
Share:
Cellular Trail Cameras for Spring Scouting: Why March Is the Best Time to Go Wireless
Mineral Sites and Trail Cameras: March Setup Tips for Better Deer Inventory