

March is one of the best months of the year to run trail cameras for deer inventory. Hunting season is over, pressure is low, and deer are transitioning from winter survival into early spring feeding routines.
That’s also why mineral sites become a popular spring scouting tool.
When used legally and responsibly, mineral sites paired with trail cameras can help hunters:
- Identify which bucks survived the season
- Estimate herd health and body condition
- Track doe and fawn numbers
- Build a more accurate inventory before summer
In this guide, we’ll break down how to set up mineral sites in March, where to place trail cameras for the best deer data, and how to use the information to plan smarter for fall.
First: Know Your State Regulations
Before setting up a mineral site, always check your state’s current hunting and baiting regulations.
Rules vary widely by state and can include restrictions on:
- Mineral use during certain months
- Attractants and feeding
- How far minerals must be removed before season
- Trail camera use near attractants
This blog is focused on scouting and herd monitoring, but legality always comes first.
Why March Is the Best Time for Deer Inventory
March is a unique window for trail camera scouting because deer behavior is predictable.
In most regions, deer are:
- Food-driven
- Grouped up in late winter patterns
- Recovering from the rut and winter stress
- Moving between bedding and food consistently
Mineral sites can add one big advantage: they create a repeatable stop where deer slow down, allowing trail cameras to capture clearer images and better identification photos.
This is especially useful for:
- Buck inventory
- Antler assessment (before shedding is complete)
- Body condition evaluation
What Mineral Sites Actually Do (and Don’t Do)
A mineral site is not magic. It won’t pull deer from miles away overnight. But it can help concentrate movement within a deer’s existing core area.
Mineral sites work best when:
- Deer already live in the area
- Food sources are nearby
- The site is easy to access without disturbing bedding cover
They also work best as a long-term data tool, not a one-week experiment.
Best Mineral Site Locations in March
If you want better trail camera photos and stronger deer inventory results, site placement matters more than the mineral itself.
Here are the best mineral site locations for March.
1. Close to Bedding (But Not In It)
The biggest mistake hunters make is placing mineral sites too deep in bedding cover.
Instead, place mineral sites:
- 50–150 yards off bedding cover
- On the edge of thick-to-open transitions
- Along travel routes deer already use
This keeps the area active while reducing the chance you push deer out by checking cameras too often.
2. Near Late Winter Food Sources
March deer movement still revolves around food.
Ideal mineral site placement includes:
- Field edges
- Food plot edges
- Logging roads leading to food
- Transition corridors between bedding and feeding
The goal is to catch deer during their natural movement, not force them to change patterns.
3. In Low-Pressure, Low-Human-Activity Areas
Mineral sites are most effective when deer feel safe.
If the site is near:
- Heavy farm equipment activity
- High foot traffic
- Property boundaries with neighbors walking through
You may get less daylight use and fewer mature buck appearances.
Choose quiet, secure zones with good cover nearby.
Trail Camera Placement Tips for Mineral Sites
Mineral sites are one of the easiest places to get great trail camera photos, but only if your camera is positioned correctly.
Here are the best practices.
Place the Camera 10–15 Feet Away
If you place a camera too close, you’ll get:
- Overexposed night images
- Partial deer photos
- Too many triggers from deer lingering
A distance of 10–15 feet is usually ideal for clear full-body shots.
Angle Slightly Downward
Mount the camera slightly higher than normal and angle it down. This helps with:
- Better framing
- Less glare
- More consistent detection
It also improves security if your site is in a high-risk area.
Avoid Facing Sunrise or Sunset
This is critical.
Direct sun glare can:
- Wash out images
- Create false triggers
- Reduce identification quality
If possible, face your camera north or south.
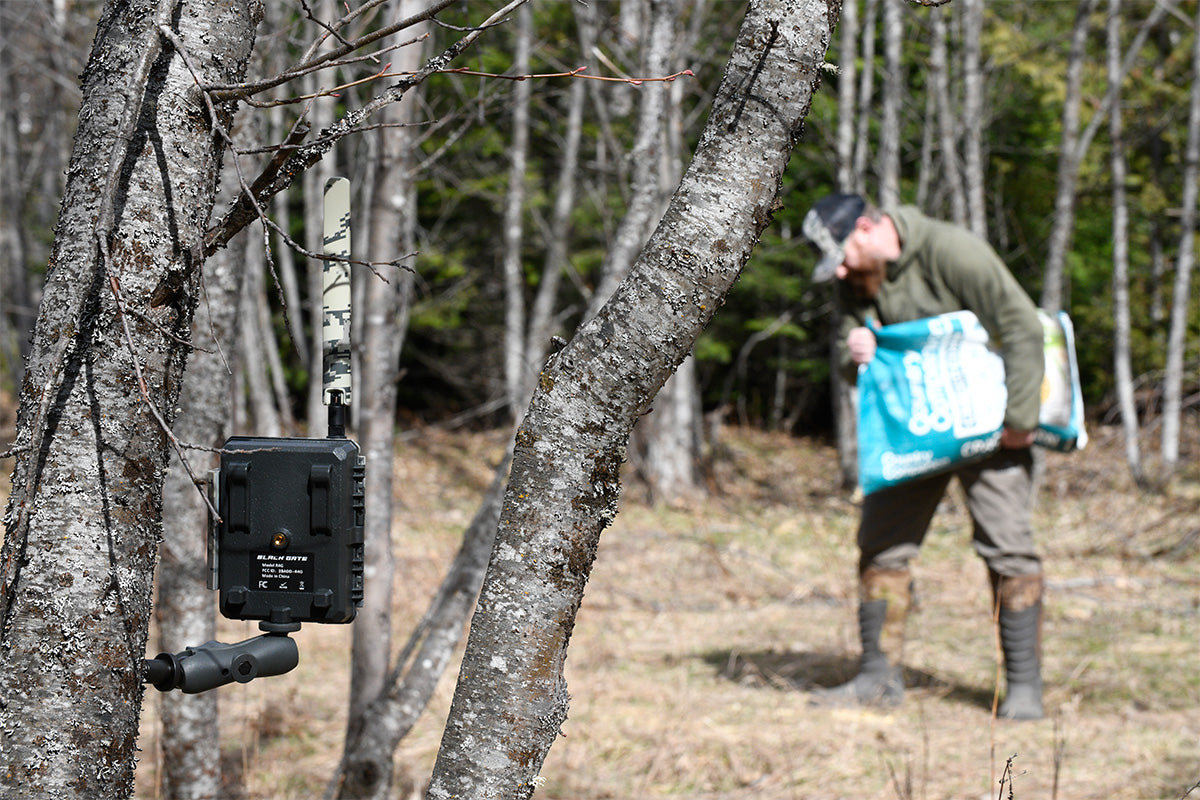
Cellular vs. SD-Card Cameras for Mineral Sites
Mineral sites are one of the best places to run a cellular trail camera because they produce repeatable, high-quality inventory photos.
A cellular camera like the Black Gate R4G Gen2 Cellular Trail Camera and also R4G LITE PLUS is ideal for this setup because it allows you to:
- Monitor buck survival in real time
- Reduce trips into the area
- Keep pressure low during a sensitive time of year
- Track shedding timelines quickly
Regular SD card cameras get rid of the monthly data fees but come at a cost. They require pulling SD cards and checking for images and disturbing your mineral sites.
Trail Camera Settings for Mineral Site Inventory
Mineral sites tend to create high photo volume because deer linger.
To get clean, usable inventory photos without draining batteries, use these settings:
- Photo mode (not video)
- 2–3 photo burst per trigger
- Trigger delay: 10–30 seconds
- Sensitivity: medium
- Night mode: no-glow flash recommended
This gives you enough photos to identify deer clearly without filling SD cards too quickly.
What to Track for Better Deer Inventory
A mineral site is not just about seeing bucks. It’s about collecting useful data.
Here’s what to track from your trail camera photos:
- Buck count and buck survival
- Antler size trends year over year
- Doe-to-fawn ratio
- Body condition in late winter
- Daylight vs nighttime activity
- Travel direction and entry routes
This information helps you make smarter decisions about:
- Stand placement
- Habitat improvements
- Food plot planning
- Hunting pressure strategy
- Harvest goals
Common Mistakes That Ruin Mineral Site Results
If you want better deer inventory data, avoid these mistakes:
- Checking the site too often
- Walking directly through bedding cover to access it
- Placing the camera too close
- Using settings with no trigger delay
- Setting mineral sites in high human activity zones
- Expecting immediate results in a few days
The best mineral site setups are consistent and low-pressure.
Final Thoughts
When used legally and responsibly, mineral sites combined with trail cameras can be one of the best spring scouting tools for building a better deer inventory.
March is the perfect time to do it. Deer are predictable, pressure is low, and you can gather the kind of data that helps you make better decisions long before fall season begins.
If you want to scout smarter in 2026, start with a simple plan:
- Choose a low-pressure mineral site location
- Place your trail camera correctly
- Use efficient settings
- Track inventory over time
Then let the data guide your season.
Share:
Trail Camera Settings for Early Spring: Reduce False Triggers and Save Battery Life