

Winter is one of the most revealing times of the year for serious hunters and wildlife managers. Food is scarce, travel routes tighten, and deer patterns become more predictable — if you know how to run your trail cameras correctly in the cold. A well-placed winter trail cam can capture some of your most valuable intel of the entire season. But freezing temperatures, snow, moisture, and battery drain can all work against you if you’re not prepared.
This guide breaks down the essential winter trail-camera setup strategies to help you get the most reliable photos, videos, and cellular uploads during the harshest months of the year.
1. Protecting Battery Life in Freezing Temperatures
Cold weather is the #1 killer of trail-camera performance. Whether you're running traditional SD-based units or advanced cellular trail cameras, batteries drain significantly faster as temperatures drop.
Here’s how to extend battery life during winter scouting:
Use Lithium Batteries — Not Alkaline
Lithium batteries handle cold weather far better than alkaline batteries. They deliver consistent voltage, maintain higher capacity in sub-freezing conditions, and provide longer operational life for cellular trail cameras. This is especially important when snow cover forces deer to move more consistently, making every detection count.
Monitor Battery Levels More Frequently
Winter drains power faster than you expect. If you're using cellular cams, check battery percentage in your app often. For SD-card cams, schedule field checks on a predictable rotation — ideally during midday when deer movement is lowest.
Avoid Cheap Rechargeables
Most rechargeable batteries struggle in cold weather. They lose capacity rapidly and often fail to deliver the power cellular models need to transmit photos. If you prefer rechargeable options, choose premium low-temperature NiMH varieties.
Add an External Power Source
Solar panels and battery packs made for cold climates can help, but winter sun hours are shorter. If solar is part of your setup, ensure the panel faces true south and remains snow-free.
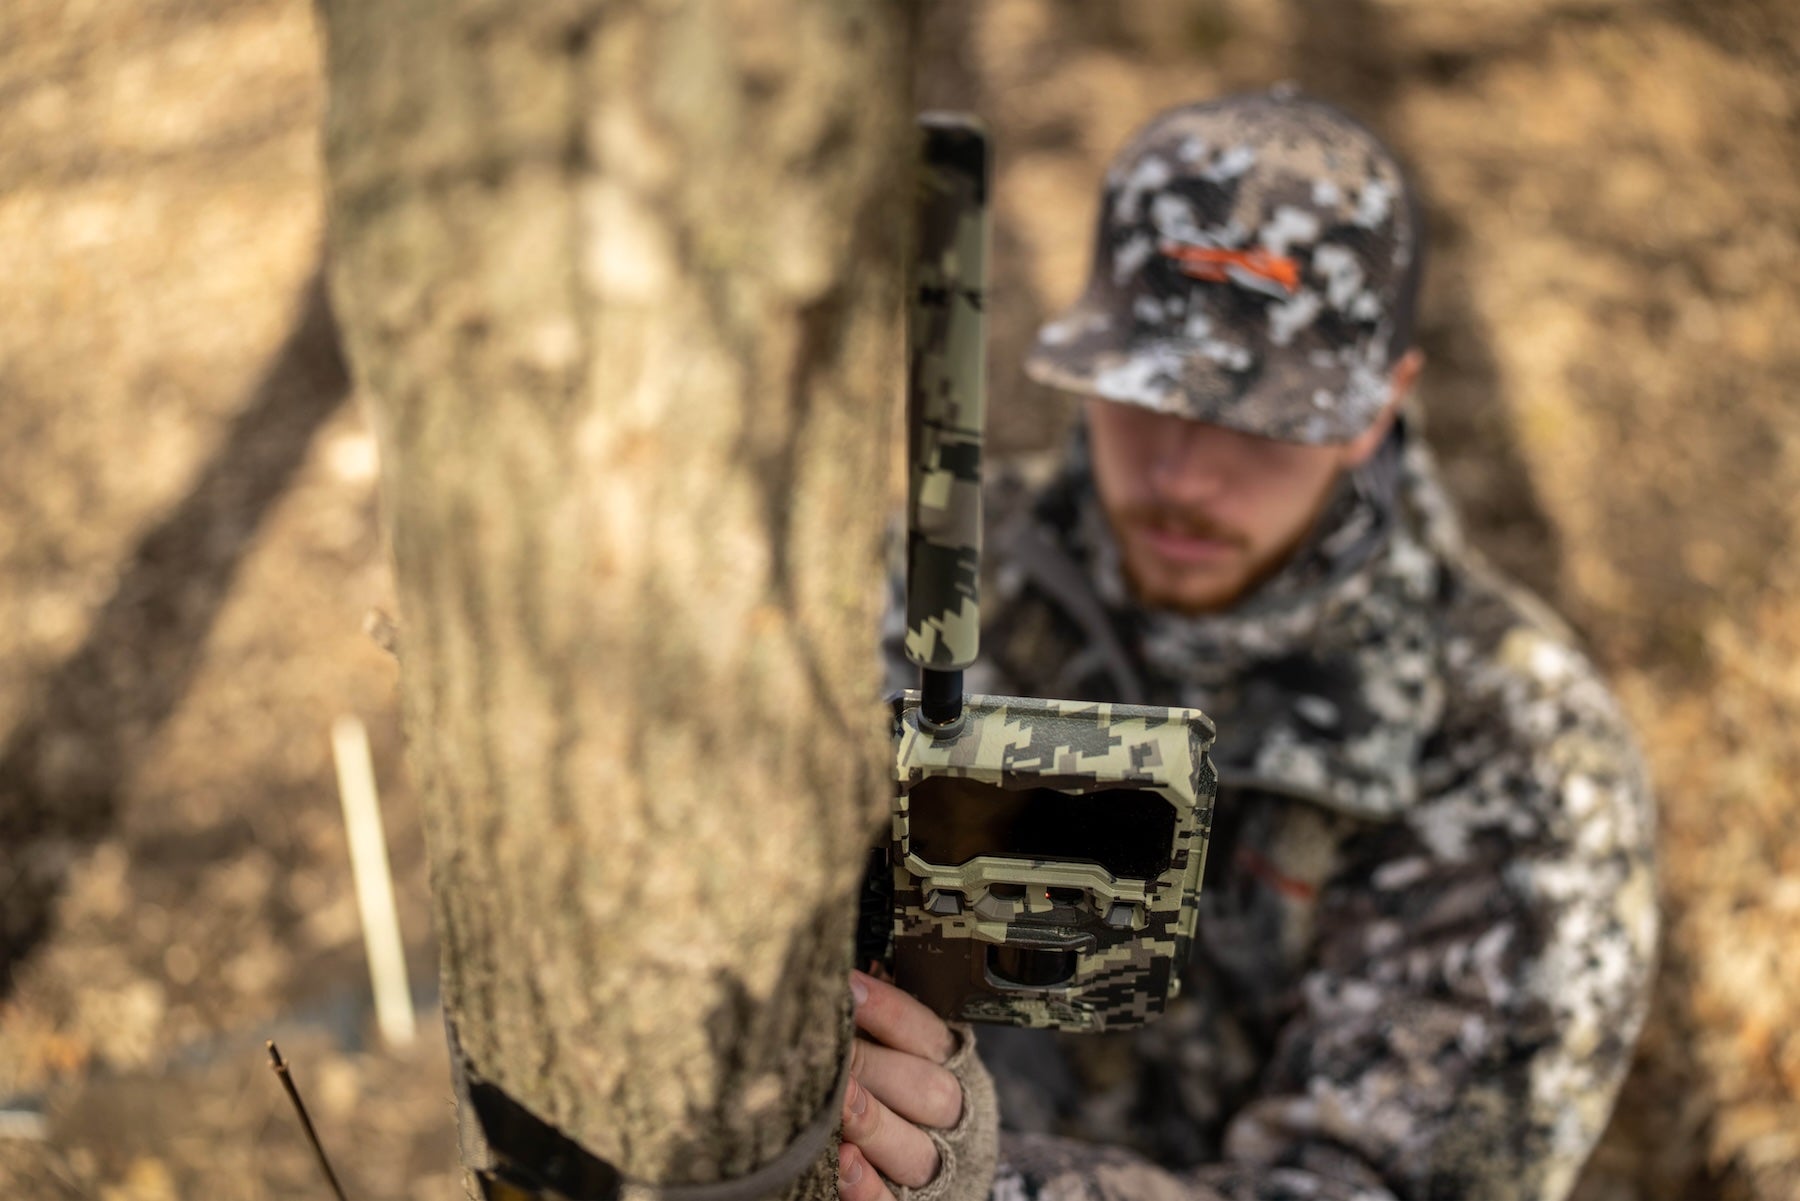
2. Preventing Lens Condensation & Moisture Damage
Winter weather can create moisture issues that degrade image quality or damage electronics. Condensation occurs when temps swing from cold to warm — something that happens often in the woods during sunny winter afternoons.
Use these best practices to protect your trail cam:
Position Your Camera Away From Direct Sunlight
Direct sun on the lens or housing causes warming during the day, then rapid cooling at night. This temperature swing leads to fogging or internal condensation. Aim for steady shade, such as north-facing cover.
Keep Cameras Tight and Properly Sealed
Before mounting your winter trail cam, inspect the gasket seals. Even a small gap allows moisture ingress, which becomes worse with melting snow.
Use Silica Packs Inside the Housing
Placing a small silica gel pack inside the battery compartment (without obstructing electronics) helps absorb moisture throughout the season. This is a popular hack among hunters running cellular trail cameras deep into winter.
Mount Cameras Above Snow Line
As winter progresses, snow depth increases. If your cam is too low, melting snow can drip into vents or contacts, accelerating corrosion. Start the season 3–4 feet above expected snow height.
3. Best Trail-Camera Placement for Deer Movement in Winter
Winter deer patterns shift dramatically from fall behavior. Food scarcity and energy conservation force deer into predictable routines — which makes winter trail cameras a game-changer.
Here’s where to position your cameras for the strongest winter results:
Focus on Primary Winter Food Sources
This includes:
- Standing corn
- Bean fields
- Cut corn
- Winter wheat
- Browse areas
- Hard mast leftovers (acorns in warmer regions)
Deer concentrate heavily on calories this time of year. A camera placed overlooking trails leading to and from food will often outperform a camera sitting directly on the field edge.
Cover Thermal Bedding Areas
In winter, deer bed in sheltered, heat-retaining locations:
- South-facing slopes
- Thick cedar or pine cover
- Low-wind pockets
- Brushy ridges with sun exposure
Placing a trail cam on the downwind edge of these bedding zones gives you a clearer picture of when deer enter and exit throughout the day.
Monitor Pinch Points and Travel Corridors
Snow naturally funnels movement into easier paths. Look for:
- Logging roads
- Creek crossings
- Saddle ridges
- Fence gaps
- Packed-down trails visible in snow
These become high-traffic areas, especially during cold snaps when deer minimize energy expenditure.
Use Elevated Mounting for Wider Coverage
Mounting cameras higher in winter helps avoid snowbanks, blowing snow, and false triggers. Aim cams downward at a 10–20 degree angle for optimal capture range.
Final Thoughts
A winter-optimized trail-camera setup gives you powerful insights into deer movement during the toughest part of the season. By protecting your battery life, preventing condensation, and choosing intelligent camera placement, you dramatically improve the reliability of your scouting data.
With the right winter strategy — and the right trail camera — you can gather some of the best intel of the entire year, setting yourself up for success in the next hunting season.

Share:
Gear Deep Dive: Must-Have Accessories for Winter Hunting + Scouting
Hunting Trends & Forecast for 2026: What’s Changing in Gear, Tech & Ethics